Disable WSUS on Windows 10 by Registry Modification
This method is simple and easy. As an end-user, you can perform on your computer.
Note: This is just a temporary solution. If you connect back the computer to the company network, the WSUS group policy will be applied automatically and revert the changes we are going to do below. The ideal permanent solution is to move your computer to the different OU where WSUS policy not applied, which can be done by the network/Windows update administrator only. So, as a computer user, we have only below option to disable WSUS on Windows 10.
To make Windows update/component to download from Microsoft online Windows update servers via the direct Internet, we can do these steps.
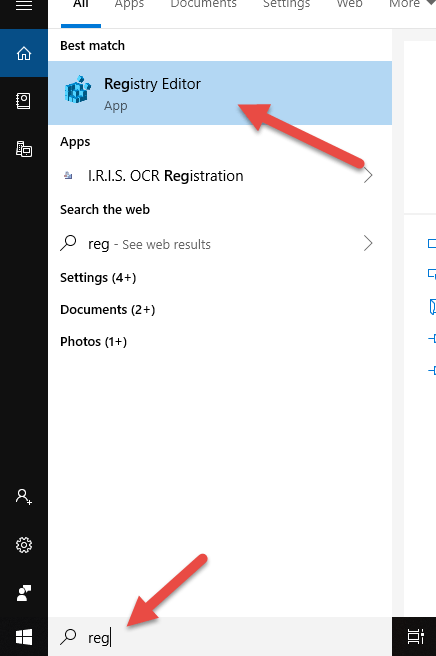
1) Open Registry editor (Type regedit in Search), and access following location.
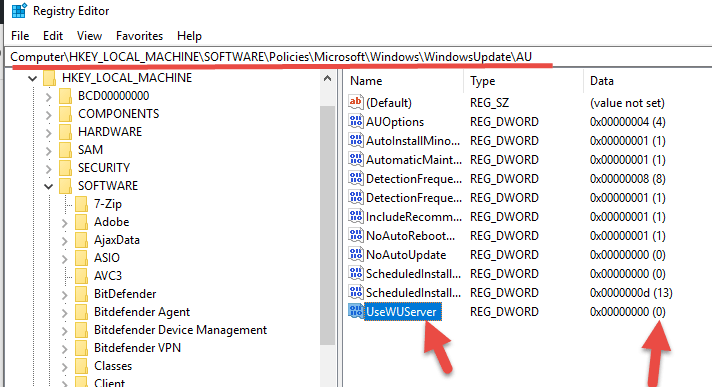
HKLM/Software/Policies/Microsoft/Windows/WindowsUpdate/AU/
2) Change the value from 1 to 0 in UseWUServer key. 1 is to use WSUS server and 0 for not.
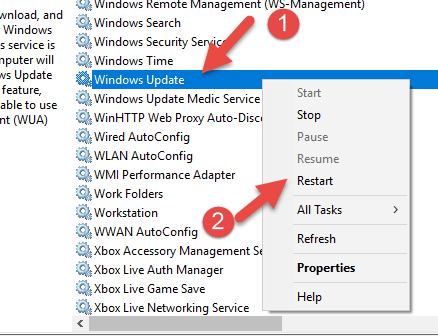
3) Once you have changed the above key from 1 to 0, close the registry editor and restart Windows update service. Even if you are okay, restart the computer to take effect.
Now connect the computer to direct Internet and try Windows update or any other component installation from the Microsoft Update website. It should work fine this time.
You may need to check some more guides here about Windows update issues.